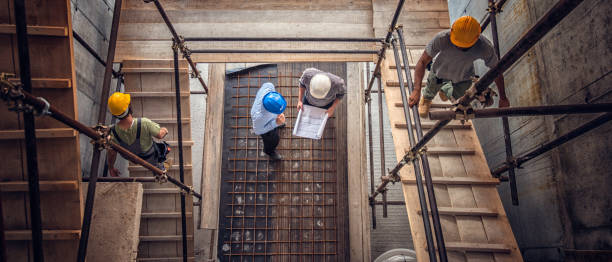
ออกแบบและก่อสร้างควรเริ่มจากตรงไหน ?
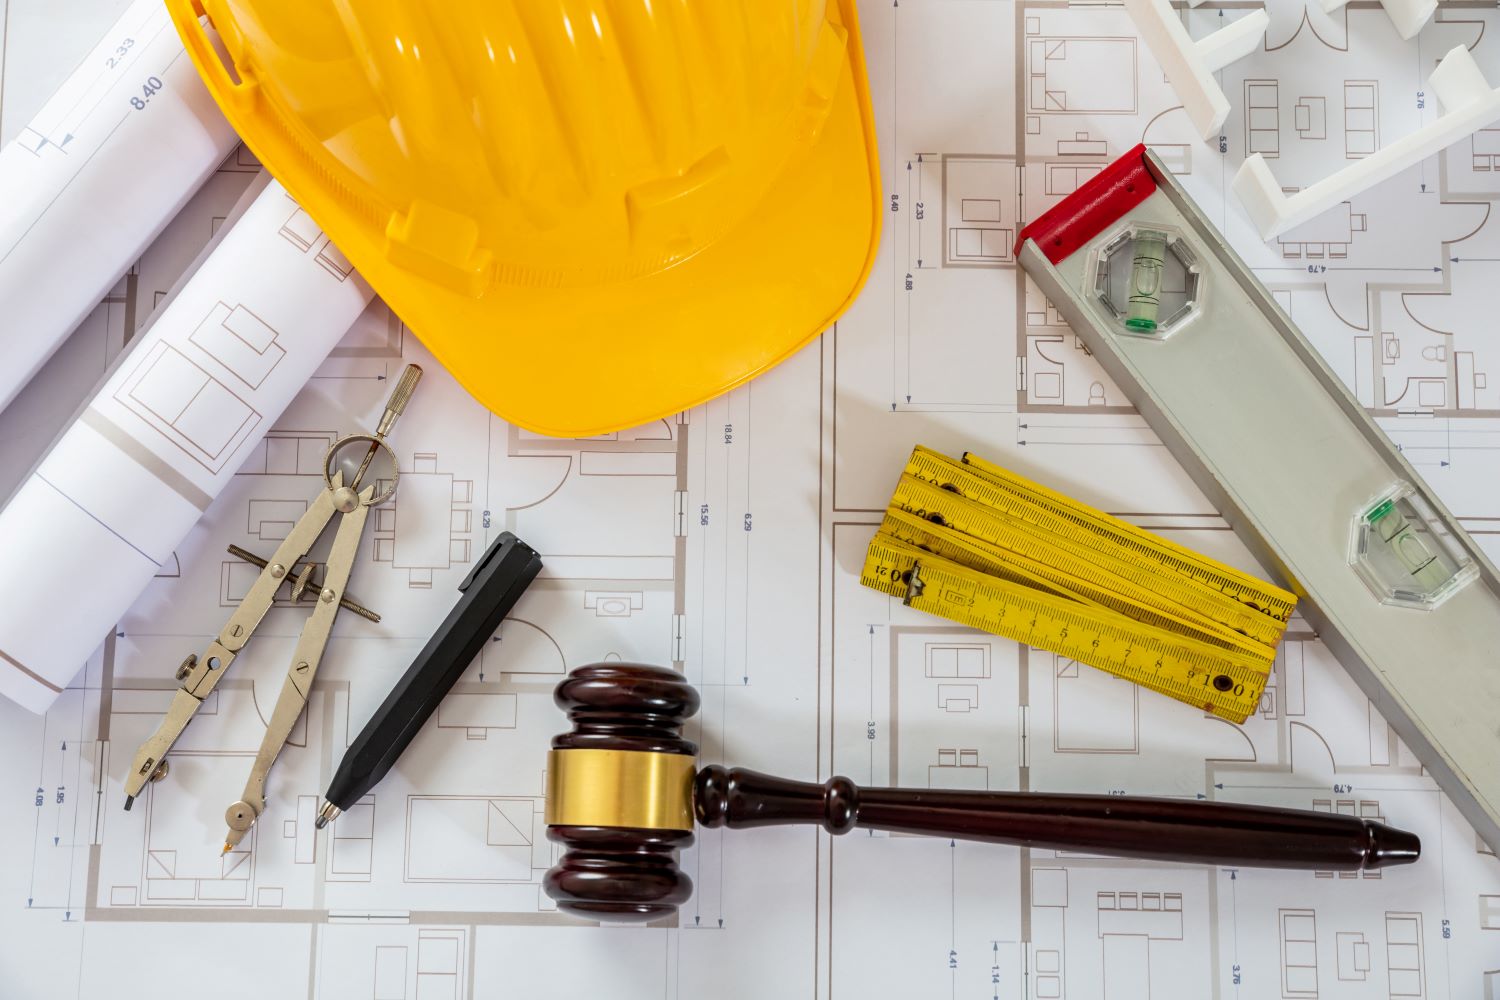
การออกแบบและก่อสร้างเป็นกระบวนการที่ซับซ้อนและต้องใช้ความรู้และประสบการณ์เป็นอย่างมาก ดังนั้น จึงควรเริ่มต้นจากขั้นตอนพื้นฐานและดำเนินการอย่างรอบคอบ เพื่อให้ได้ผลงานที่มีคุณภาพและคุ้มค่าต่อการลงทุน